Placing an order and choosing a start date
The Premier order form from first field to paid order, including the start date, the agreement you check, and what you see after paying.
5 min read
Before you start
- A CLSD account, or the public order page at /order if you have not signed up yet
- At least one delivery method, if you are ordering signed in
- A card to pay with
Tip
Pick a start date you can work from, since leads begin arriving on that date and over the days that follow.
There are two ways to place a Premier order. Signed in, click Order Leads at the top of any page. Not signed in yet, use the public order page at /order. This article follows the form from the first field to the paid order.
Filling in the order form
Step 1. Pick the lead type, language, and states
Under Lead Configuration, pick your Lead Type and Language, then at least five States. Signed in, your licensed states are filled in for you. See Choosing a lead type and How pricing breakpoints work.
Step 2. Choose where the leads go
Delivery Method appears when you are signed in. Choose one or more saved methods, or click the plus button beside the field to create a new one (with no methods saved yet, the button reads Create New Delivery). An order needs at least one. See Receiving leads by email, Connecting Google Sheets, and Connecting LeadConnector.
Step 3. Fill in your agent settings
Signed in, Your Headshot (optional) and Agent NPN (optional) appear on your ad. On the public page there is no headshot, and the NPN sits under Add your agent details (optional) as Agent NPN. Our Terms require that you are licensed for what you order, and we may ask for your NPN.
Call Number Settings asks whether you rotate numbers or call every lead from one number, which you enter under Calling From Number (optional). On the public page that field is Calling From Number.
Action After Lead is Generated sets what a prospect is asked to do after they submit. Book a Call asks for your Booking Link, Call Me Directly asks for a phone number, and Just Deliver, I'll handle the rest adds no step.
Step 4. Choose your start date
Start Date is the day your campaign launches and starts generating leads. It defaults to today, and you can pick today or any future date, not a past one. Leads arrive over the days that follow. See How leads arrive over time.
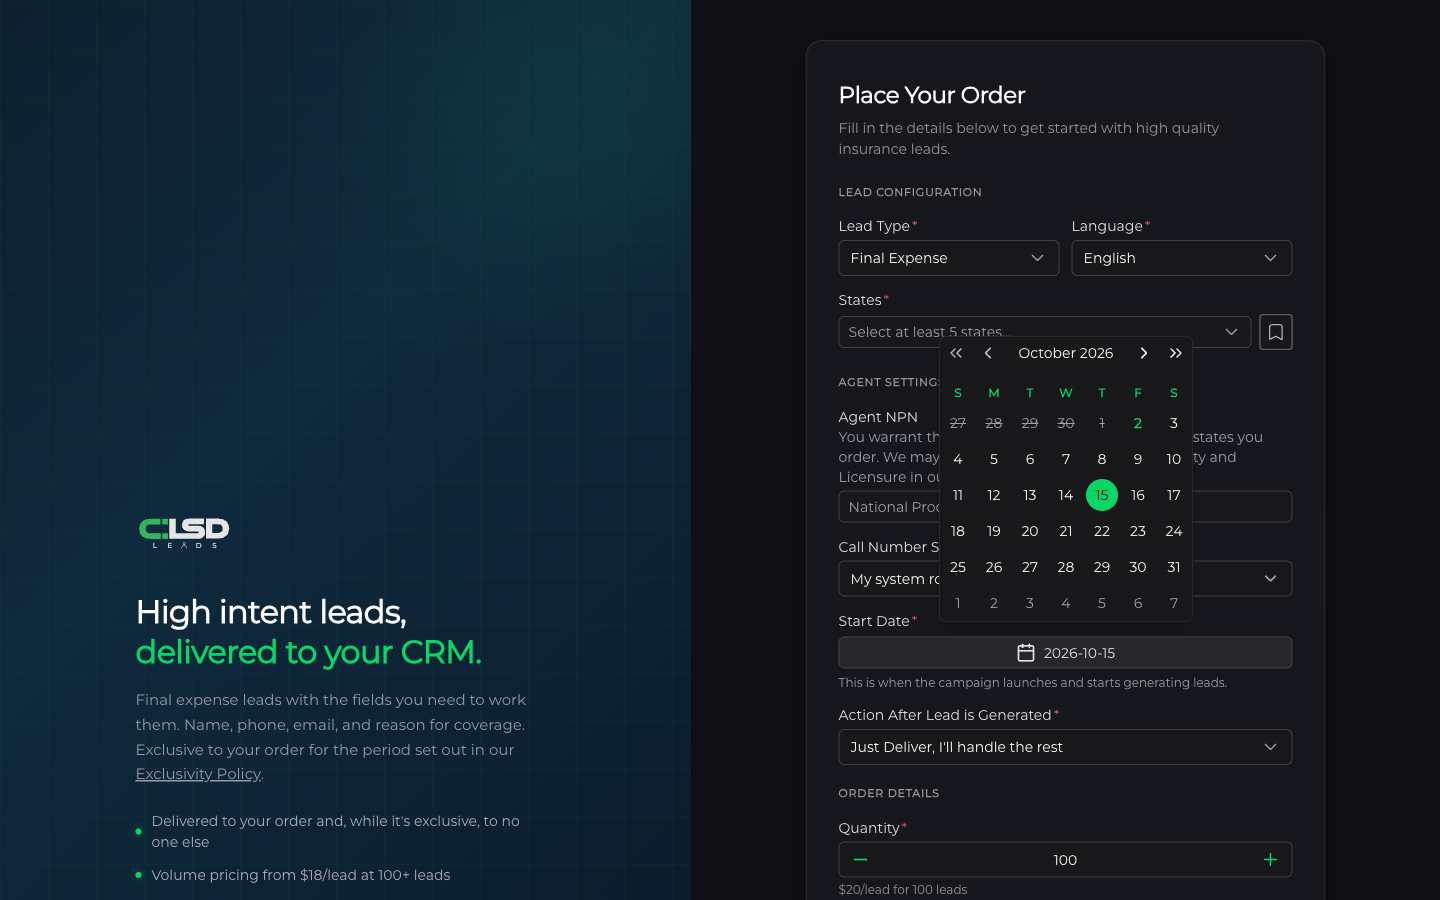
Step 5. Set the quantity and any coupon
Under Order Details, set your Quantity, in steps of 25 from 25 to 500, with the per lead rate shown underneath. Enter any Coupon Code. If the lead type offers Subscribe & Save, you can turn that on instead of placing a one time order. Your order delivers exactly the quantity you set.
Agreeing and paying
Step 1. Read and check the agreement
Before you can pay you check one box, and the text beside it is the agreement for this order. It opens with Leads are sold as is. We do not guarantee the outcome, conversion, or success of any lead. Exclusivity is a commitment about who else we sell the lead to, and nothing more.
You then confirm that all sales are final, that you understand the lead replacement policy, and that you waive your right to a refund and to dispute the charge. The public page also has you represent that you are licensed and will not pass lead data to an unlicensed person. Both forms include consent to SMS notifications from CLSD Leads, with STOP to opt out.
The Terms, Privacy Policy, Refund Policy, and Replacement Policy are linked under the text.
Important
All sales are final. A bad lead is replaced, within seven days of delivery. See Requesting a replacement.
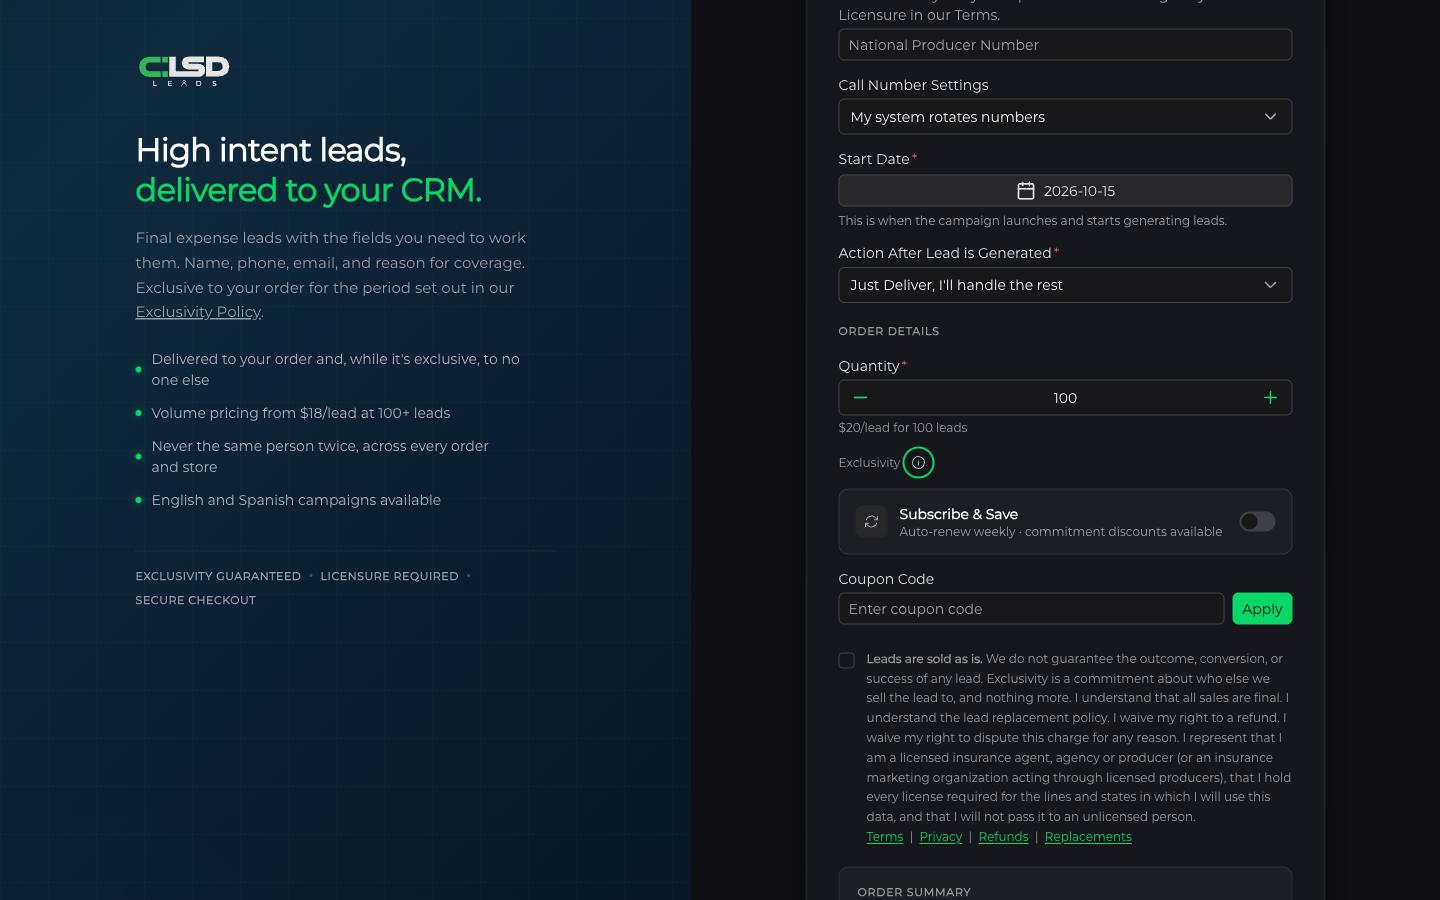
Step 2. Pay
Check the Order Summary, then click Continue to Payment on the public page or Purchase in the signed in form. With a card on file, pick it under Payment Method first. Purchase then charges it directly and you land on the confirmation without a payment step. Without a saved card, the payment step opens with a Subtotal line, any discount, the Total, a card form, and a button that reads Pay with your total on it.
Step 3. Confirm the order went through
You see Order Placed! with a note to check your email for confirmation. In the signed in form, Done closes the panel. The public page adds a Sign in to manage your order button.
On the Orders page your order shows Scheduled until the start date, then Delivering, then Fulfilled once every lead is in. See Finding your orders.
Troubleshooting
I ordered from the public page. Where do I add a delivery method?
Sign in first. Delivery methods are added after you sign in, and Delivery Method on the order form only appears when you are signed in. See Receiving leads by email for the quickest one to set up.
My bank sent me away to verify the payment
Your bank is verifying the card. Once it finishes, you land on Payment Confirmed with View Order and Go to Orders buttons, and the order is placed.
The form will not let me continue
The two usual causes are fewer than five states and an unchecked agreement box. Add states until you have at least five, and check the box beside the agreement text before you pay.
Can I change the start date after paying?
No. The date is set when you place the order and can be changed only before you pay. If you need leads to stop for a while after the order starts, pause it instead. See Pausing and resuming an order.